 KUMAKIKAI
Introduction
Use these real screens to follow the main Uni:Note operations. Tap an image to enlarge it. You can keep writing with Apple Pencil, or turn on Draw with Finger to write with one finger.
Requires an iPad with iPadOS 17.0 or later. Recording transcription requires a supported environment with iPadOS 26 or later.
Search this guide
Enter a feature or action to jump directly to the relevant instructions.
Basic use
Create a subject and its first note
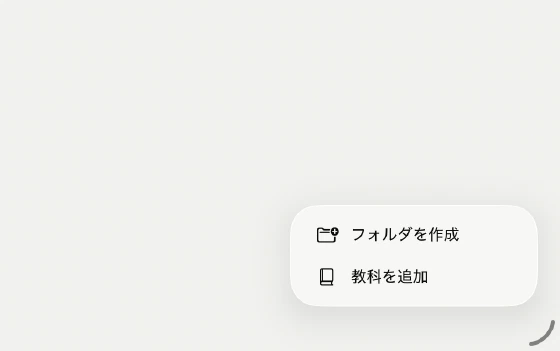
- Tap + at the bottom right of Home, then choose New Subject.
- Choose the name, ruling, paper color and cover color.
- Open the subject and name its first note. Leave the name blank to use today’s date.
The same + menu creates folders. Drag subjects into them; deleting a folder returns its subjects to Home. Long-press a subject to edit its name and paper settings.
Choose a tool and write
- Select the pen, highlighter or eraser in the palette.
- Write with Apple Pencil. When Draw with Finger is on, you can also draw or erase with one finger.
- Writing on the last page adds the next page automatically.
Draw with Finger is directly below the current-plan card on the main Settings screen and is also available in the first-run guidance. When it is off, scroll with one finger. When it is on, one finger draws, so scroll with two fingers. Pinch with two fingers to zoom in either state. Turning it off restores one-finger scrolling. Apple Pencil remains available in both states.
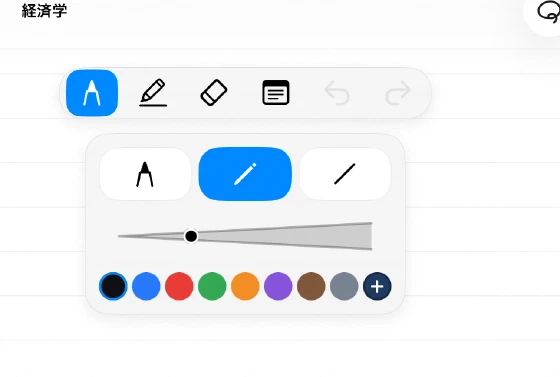
Drag the palette to reposition it. The Ruler button shows a ruler you can move and rotate with your fingers. Draw near it with Apple Pencil for straight lines. Range Move selects whole handwriting strokes; move photos, PDFs and sticky markers separately. Vertical notebooks scroll sideways, and their orientation cannot be changed after creation.
Switch notes and search titles
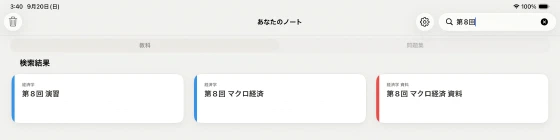
Type part of a note title in Search note titles on Home and tap a result. Search covers titles, not handwriting, page text, PDFs or subject names.
Inside a note, Note List opens other notes in the subject and lets you create one. Swipe left for rename, protection or deletion. Pages opens thumbnails: tap to navigate, long-press to delete.
Attach photos or PDFs and export
- Open More at the top right of the note.
- Choose a photo, document photo or PDF attachment.
- Select the PDF pages to insert; use the spread-splitting option for facing-page documents.
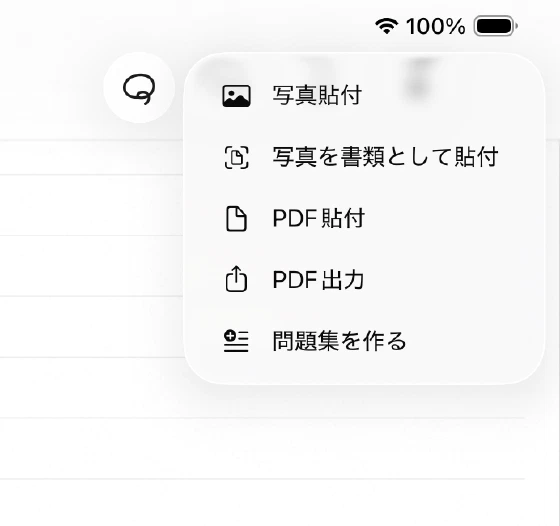
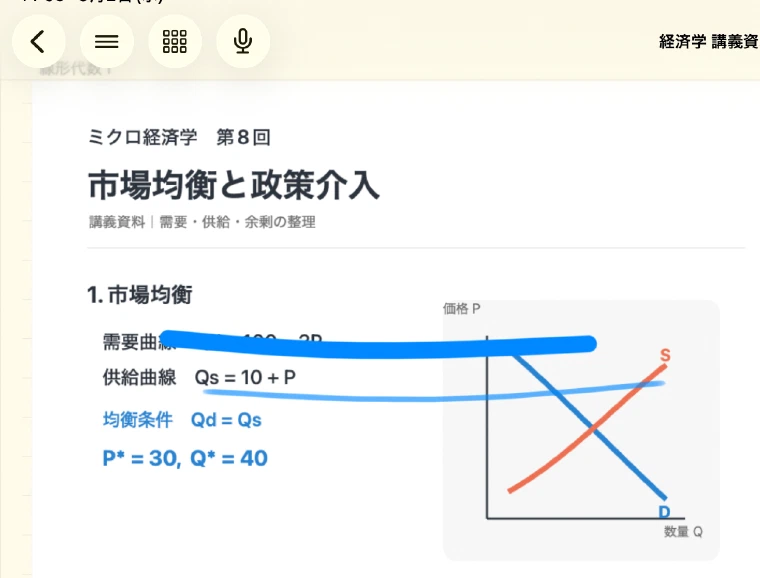
Material selection depends on Draw with Finger. When it is off, tap a photo or PDF once to select it. When it is on, touch and hold the material, then choose Move & Resize from the menu. You can keep Draw with Finger on while moving or resizing the selected material. A two-finger pinch zooms the note itself; in finger drawing mode, resize the selected material with its resize handle. You can continue writing over the document with Apple Pencil. For sharing, choose More → Export PDF, then the current note or the whole subject. Settings lets you use the paper color or white as the PDF background.
Record a lecture
- Tap the microphone above the note.
- Tap the red record button; pause and resume when needed.
- Stop to save, then select the saved recording to play it.
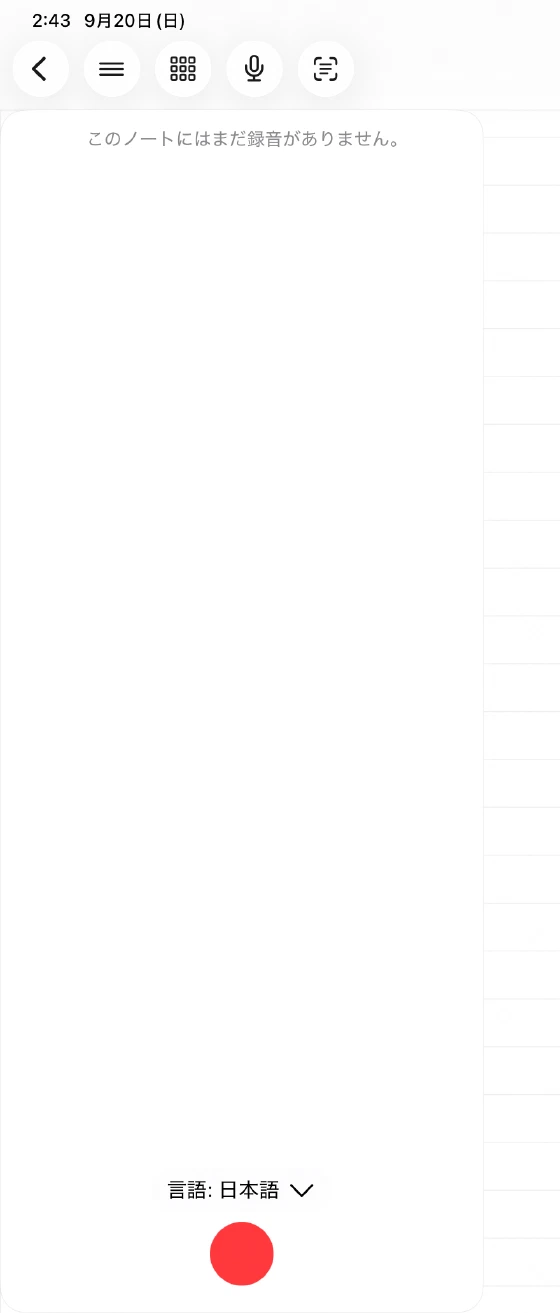
Recording, playback and transcript viewing require Premium. Recordings split after 30 minutes, with up to five per note. Stop and save before returning Home or putting the iPad to sleep. Supported iPadOS 26 devices can transcribe during recording. Set the language in Settings → Study Support → Recording Support. AI summaries use transcript text and AI balance; review the estimated usage before starting.
Review with sticky markers and practice sets
Enable memorization in Study Support settings. Choose the sticky-marker tool, cover text with Apple Pencil, and tap a marker with your finger to reveal or hide it. To delete a marker, long-press it and tap the Delete button that appears.
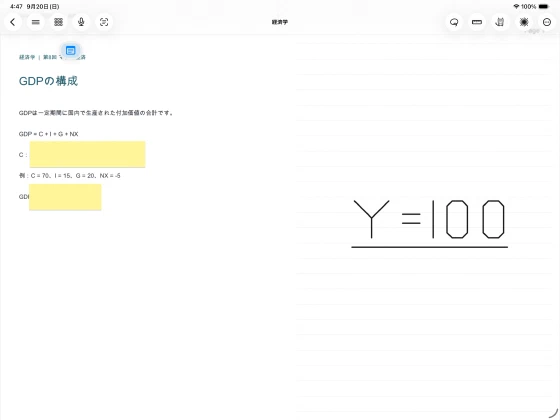
Enable Problem Solver Assistant, choose its note toolbar button, enclose a problem with Apple Pencil, check the area and request an answer.
To send the result to another app, tap Copy on the left or Share on the right at the upper-right corner of the answer sheet.
For practice sets, choose More → Create Practice Set, select pages, keep or discard candidates and save the set. Open Practice Sets on Home to review it. AI answers and generation use AI balance; check results against your learning materials.
Protect, delete and restore
Use Protect in Note List to prevent writing. Settings can require biometric authentication when removing protection.
Restore deleted subjects and notes from Home’s Trash. Deleting a folder keeps its subjects. Deleted pages, practice sets and permanently erased Trash items cannot be restored. Deleting the only page clears its contents instead.
Subjects and notes in Trash are permanently removed during cleanup after 30 days. Restore anything you need before then.
Keep a backup
- Open the gear on Home, then Settings → Backup.
- To listen in Pocket, enable including recording audio before exporting.
- Export a backup and choose its destination.
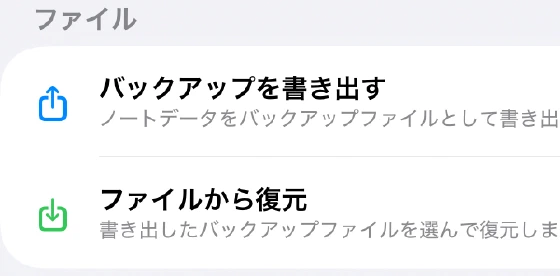
Easy Backup update/restore requires Premium. It saves and loads an iCloud file; it is not automatic note sync. Use Restore from File for a saved zip, then follow the app’s instruction to close and reopen it. Language, left-handed controls and the subject label can also be changed in Settings.
Use two iPad windows
Use iPad window controls to place Uni:Note next to a document or video. You can also open two Uni:Note windows.
The Draw with Finger setting is shared by all Uni:Note windows on the same device. Changing it in one window also changes whether one or two fingers are used for scrolling in the other window.
Dock gestures and names such as Split View or Slide Over depend on the iPadOS version and window settings.